
Introduction.
Azure DevOps is amazing set of services which support all parts of Application lifecycle management. Azure DevOps consist of: Azure Boards, Azure Pipeline, Azure Repos, Azure Artifacts and other very useful tools for SW development processes support.
For me, as a software/devops engineer, Azure Pipelines is the most interesting area of Azure DevOps. With Azure Pipelines I can do all sorts of magic: I can build, test, version and deploy code in any language, to any cloud—or on-premises. I can run builds in parallel on Linux, macOS and Windows, and deploy containers to individual hosts. The possibilities are endless!
Although, built-in (Hosted) build agents are enough for almost all scenarios, there are cases when special needs are required. In this case, custom agents came into the game!
In this post I will try to describe how to put up custom build agent for Azure DevOps on Linux machine!
Let’s build some code on Linux.
For the purpose of this blog post – and to make case even more interesting – I will try to compile a simple c application with GCC compiler on Linux. The code is available here: https://github.com/josipx/Jenx.LinuxAzureDevOps.Demo. This is my awesome code 🙂 .
|
1 2 3 4 5 6 7 |
#include <stdio.h> int main() { printf("Hello, jenx.si was here!\n"); return 0; } |
For simple scenarios, GCC compiler directive to compile c code to executable is simple:
gcc input.c -o output.out
where input.c is source code, and output.out is compiled executable.
Custom Linux build machine.
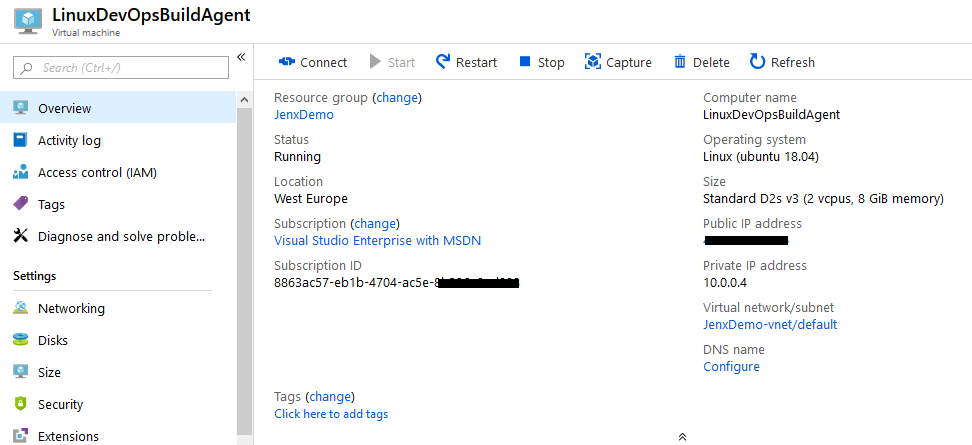
Without going into much details, I created new Linux Ubuntu (Ubuntu 18.04) machine on Azure, i.e.
First of all, before any integration with Azure DevOps, I wanted to try everything to be sure if it works as expected. I installed GCC compiler on my Linux box, by running:
sudo apt install gcc
After successful installation I just double checked if GCC is present:
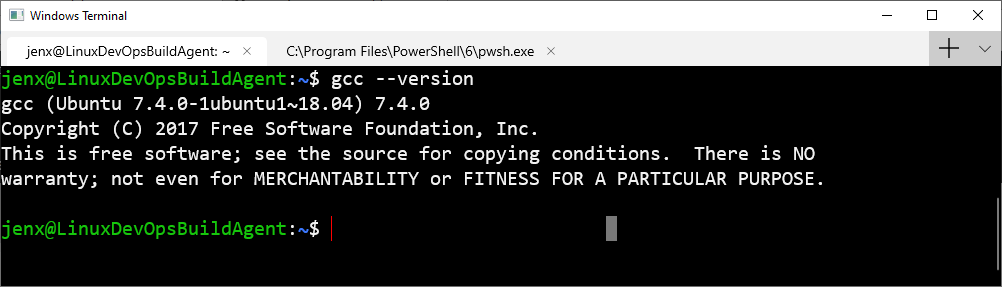
Hence, It looks everything work fine. Furthermore, I performed quick test: I created new c file and try to compile it:
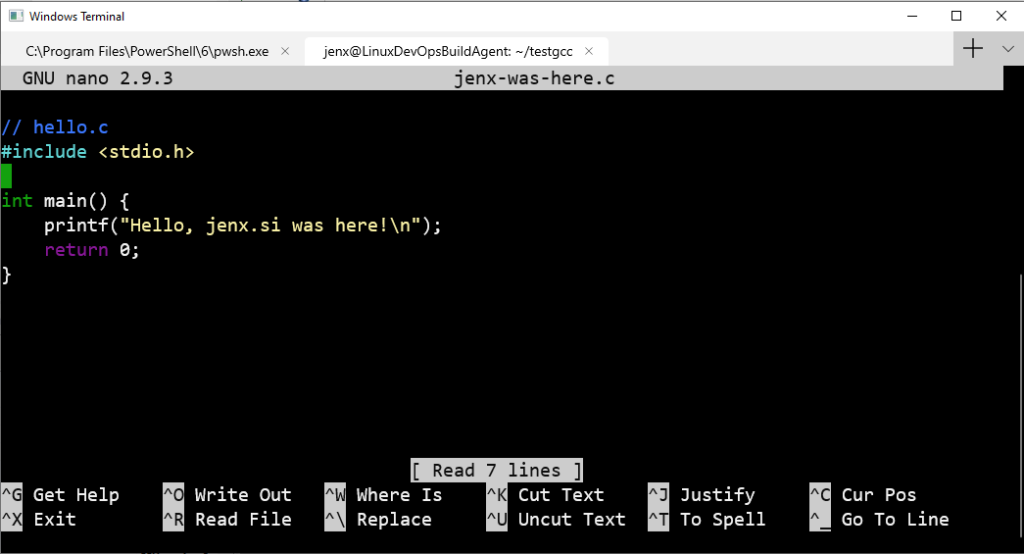
gcc jenx-was-here.c -o jenx.out
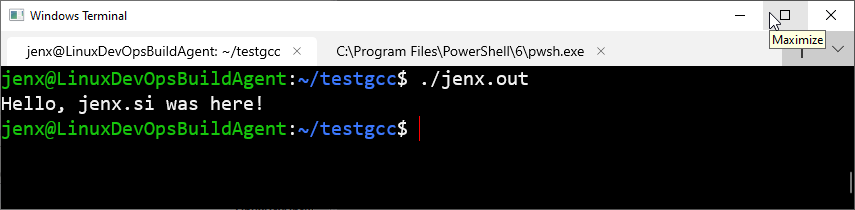
So, my Linux virtual machine is ready to be used as a build agent/machine!
Integrating custom build agent into Azure DevOps.
In order to put Azure DevOps to work with my custom build agent I did the following things:
- Prepare PET (Personal Access Token) on Azure DevOps portal for my build machine authentication.
- Setup and register external build agent to work with Azure DevOps.
- Prepare Azure DevOps pipeline to build my code.
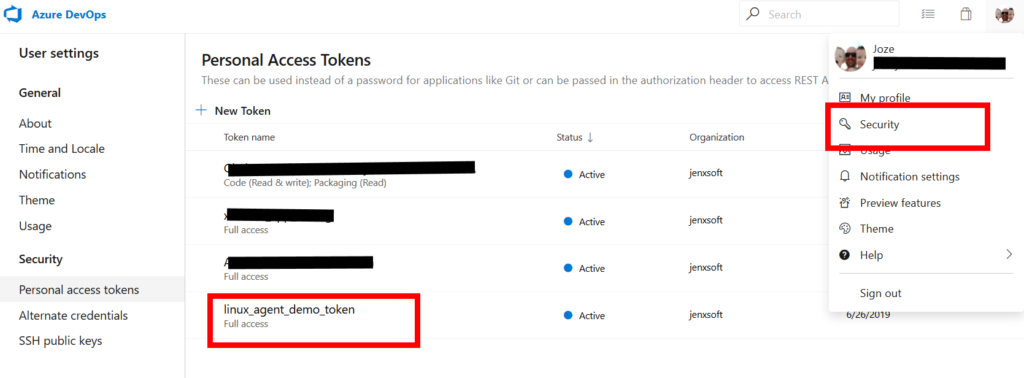
Preparing PET (Personal Access Token) for build machine authentication.
Personal Access Tokens (PET) are a way how external apps can authentication against Azure DevOps. Tokens can be generated under User Account/Security/Personal Access Tokens menu, as shown below. When PET is generated, I just need to remember/copy it (If you forget the generated token you can not see it again, you can only generate new one) and used in external application. Azure DevOps enables very granulate authorization scopes, but for the purpose of this demo I granted full access to use with my token.
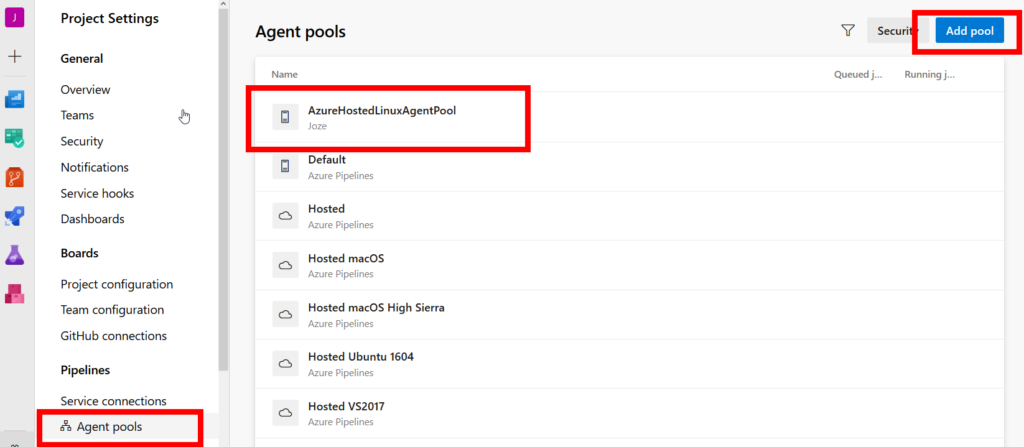
Registering external build agent on Azure DevOps.
Next, I need to create new Agent Pool in Azure DevOps Project Settings:
and under “New agent” I got all the information needed to create new build agent for various platforms: Windows, macOs and Linux. I used Linux version for this demo!
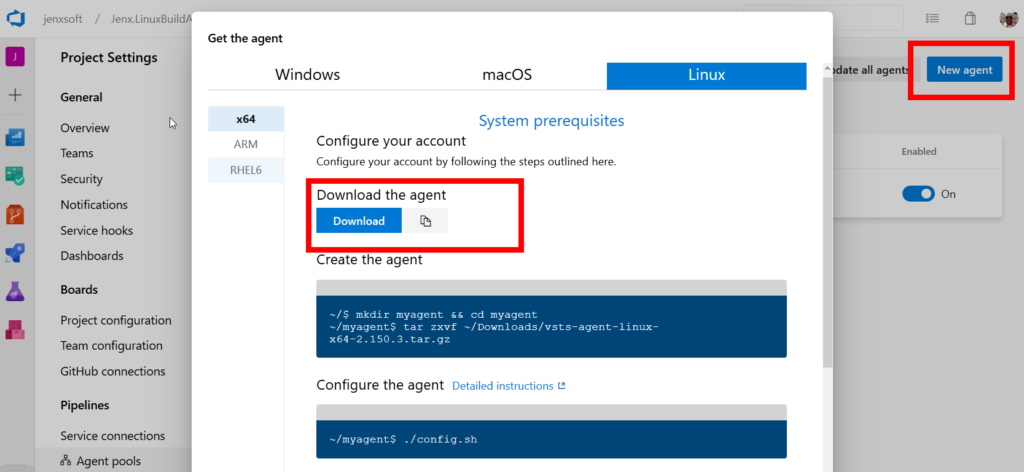
I switched to my Linux build virtual machine and downloaded package by typing:
wget "https://vstsagentpackage.azureedge.net/agent/2.150.3/vsts-agent-linux-x64-2.150.3.tar.gz"
uncompressed it, by typing:
tar zxvf vsts-agent-linux-x64-2.150.3.tar.gz
and I was ready to register my agent on Azure DevOps.
Build agent configuration.
On my Linux build machine I executed ./config.sh bash to configure and to register build agent to my Azure DevOps!
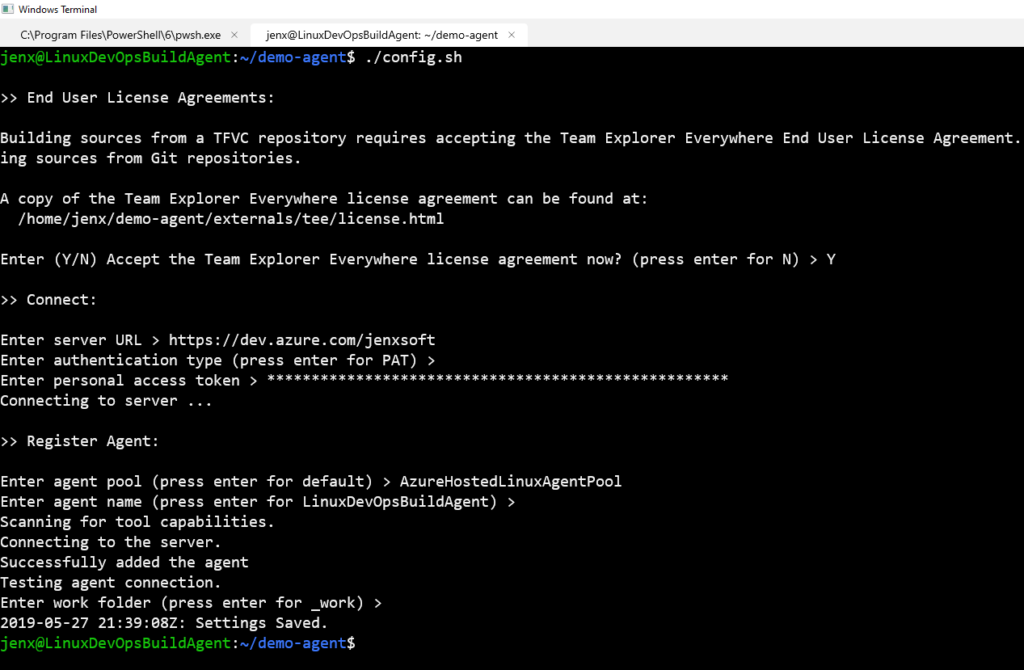
After setting a few config properties (upper), my agent was registered with the Azure DevOps.
I just start the agent, by hitting ./run.sh
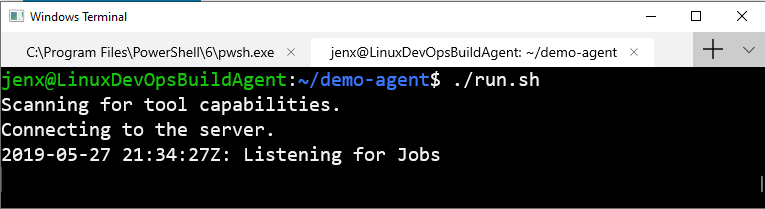
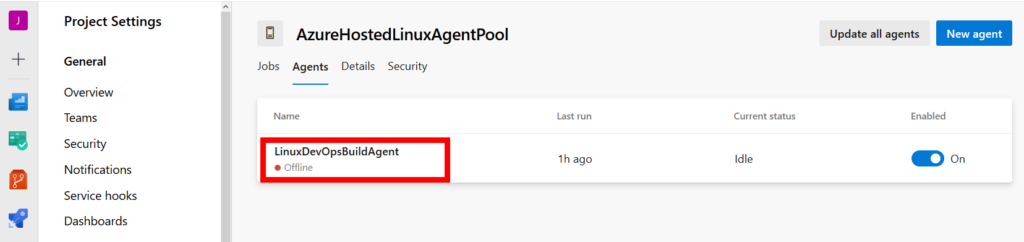
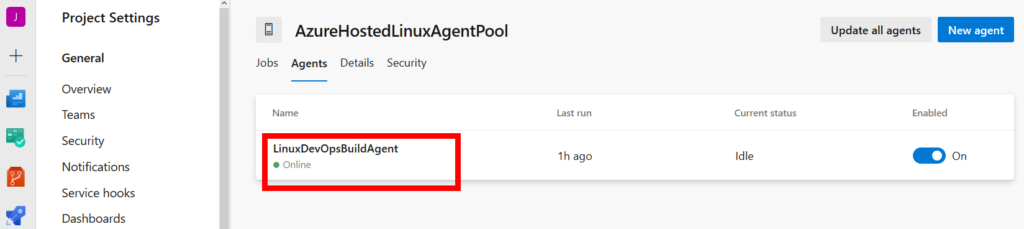
and my agent was registered and ready to work with my Azure DevOps.
Preparing Azure DevOps pipeline to build some code.
For this demo, I create build pipeline with these basic steps:
- Pulling the data from GitHub.
- Compiling the code.
- Putting executable to Azure Artifacts storage.
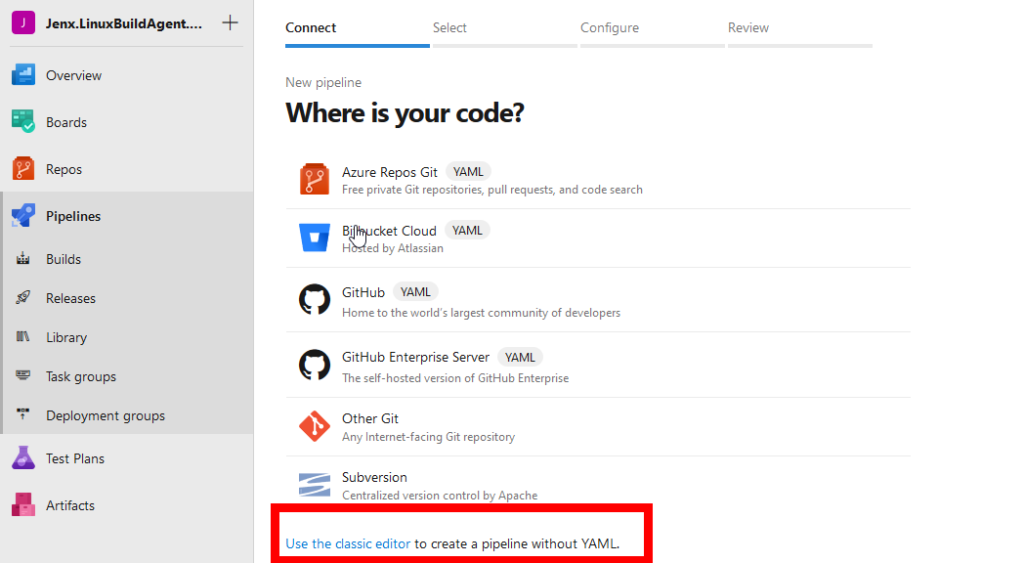
Being more familiar with “old-style” Azure Pipeline build definition I used “classic editor without YAML” to create new build pipeline.
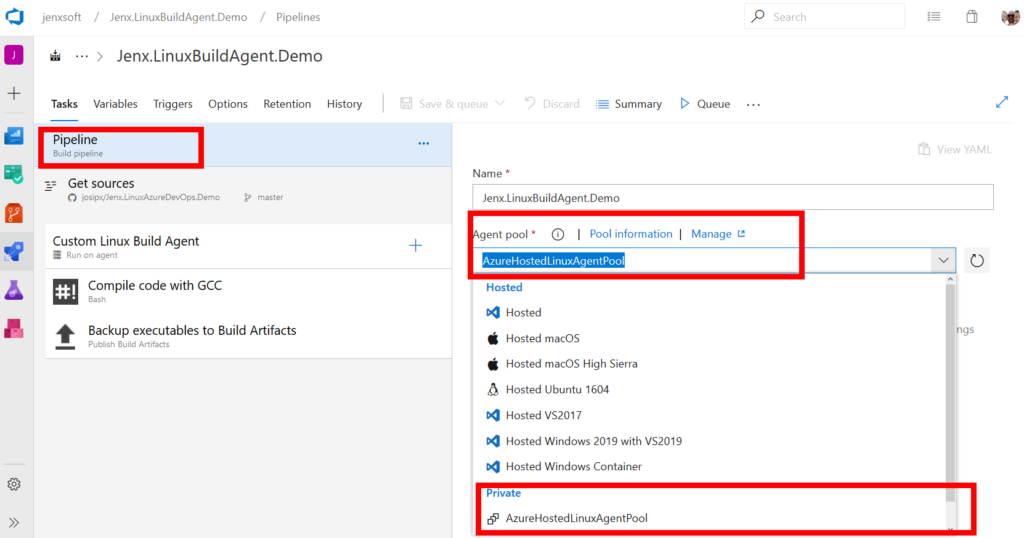
First, as usual, I defined build agent, in my case – my custom agent.
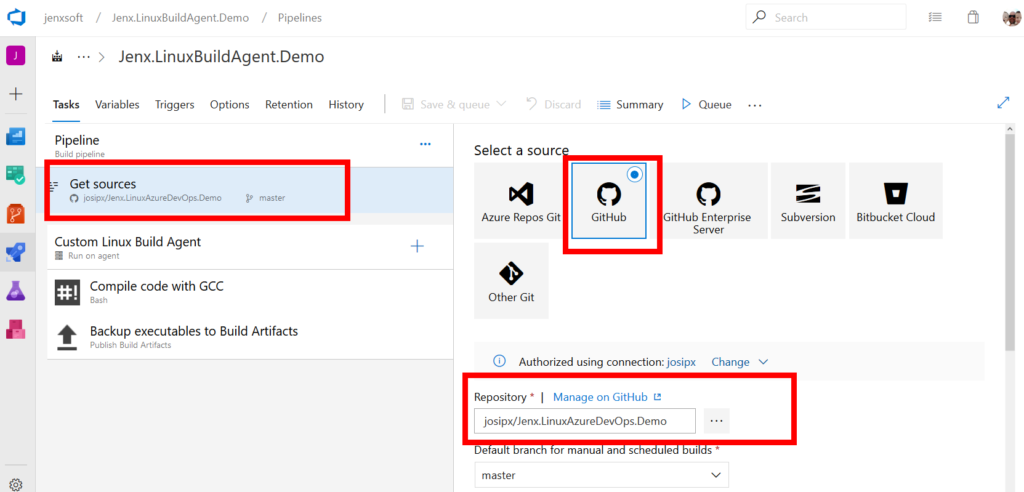
Then, I defined source code repository – in my case GitHub:
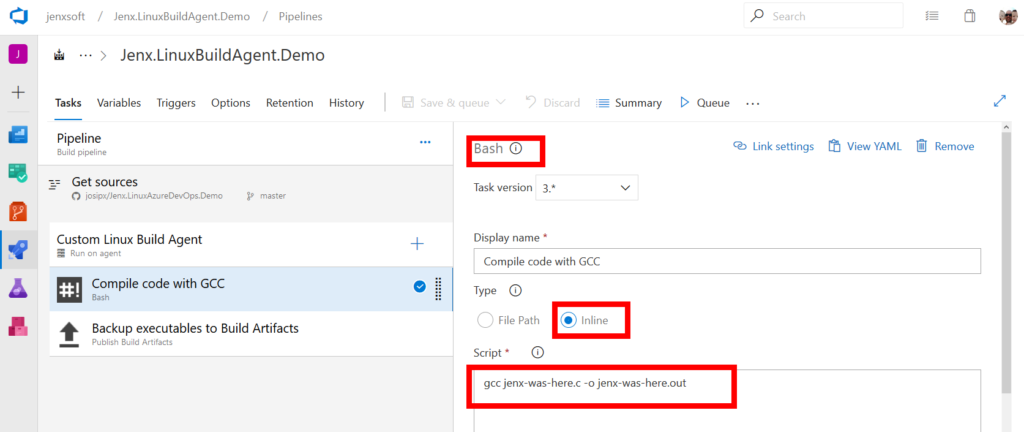
Finally, I setup my build pipeline. My build steps were simple:
- Compile the code.
- Store executable to Azure DevOps Artifacts storage.
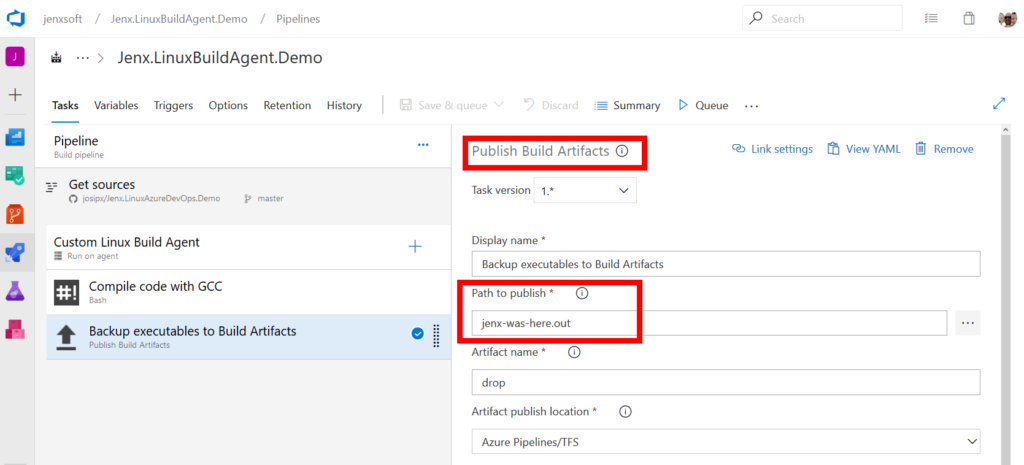
And final step to backup generated executable to Azure Artifacts repository:
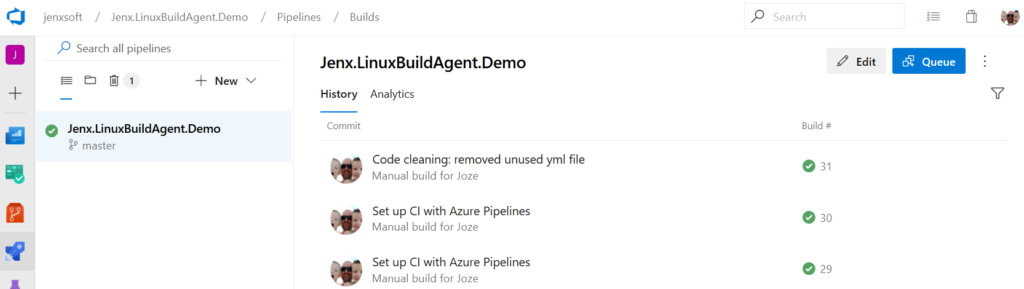
That’s it. I saved my pipeline and queue the build. My build list for current build definition:
Build details, with Artifacts storage containing executable:
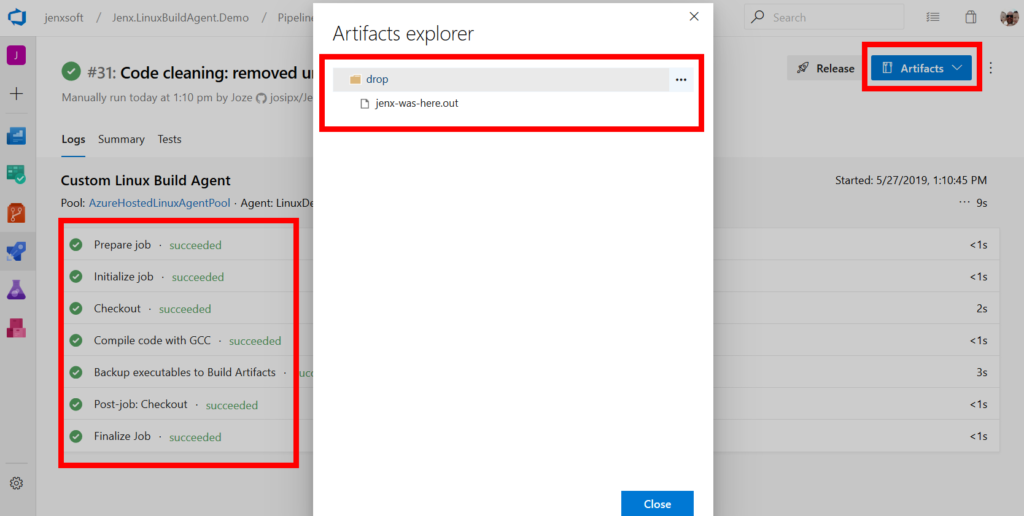
Voilà! we have it, build artifacts from my custom Linux based build agent.
Conclusion
Azure DevOps is very powerful CI/DI tool. Out-of-the-box it provides build agents for almost every possible scenario. For very special cases, if this is not enough, custom build agents can be used as described in this blog post.
This way, I handled many very exotic CI/DI scenarios, e.g. builds for embedded Linuxes, like Toradex (check https://www.toradex.com/operating-systems/embedded-linux) or some ARM based embedded Linux builds with some special development tools and SDKs like Silicon Labs Simplicity Studio.
What’s your experience with Azure Pipelines?